Controlling motors with Strudel
Strudel is mainly made for making music, but it’s possible to pattern other things with it, including motors.
We’re going to use a microcontroller for this, called an “Inventor 2040W”, which is a Pico W with extra ports added including some for controlling motors.
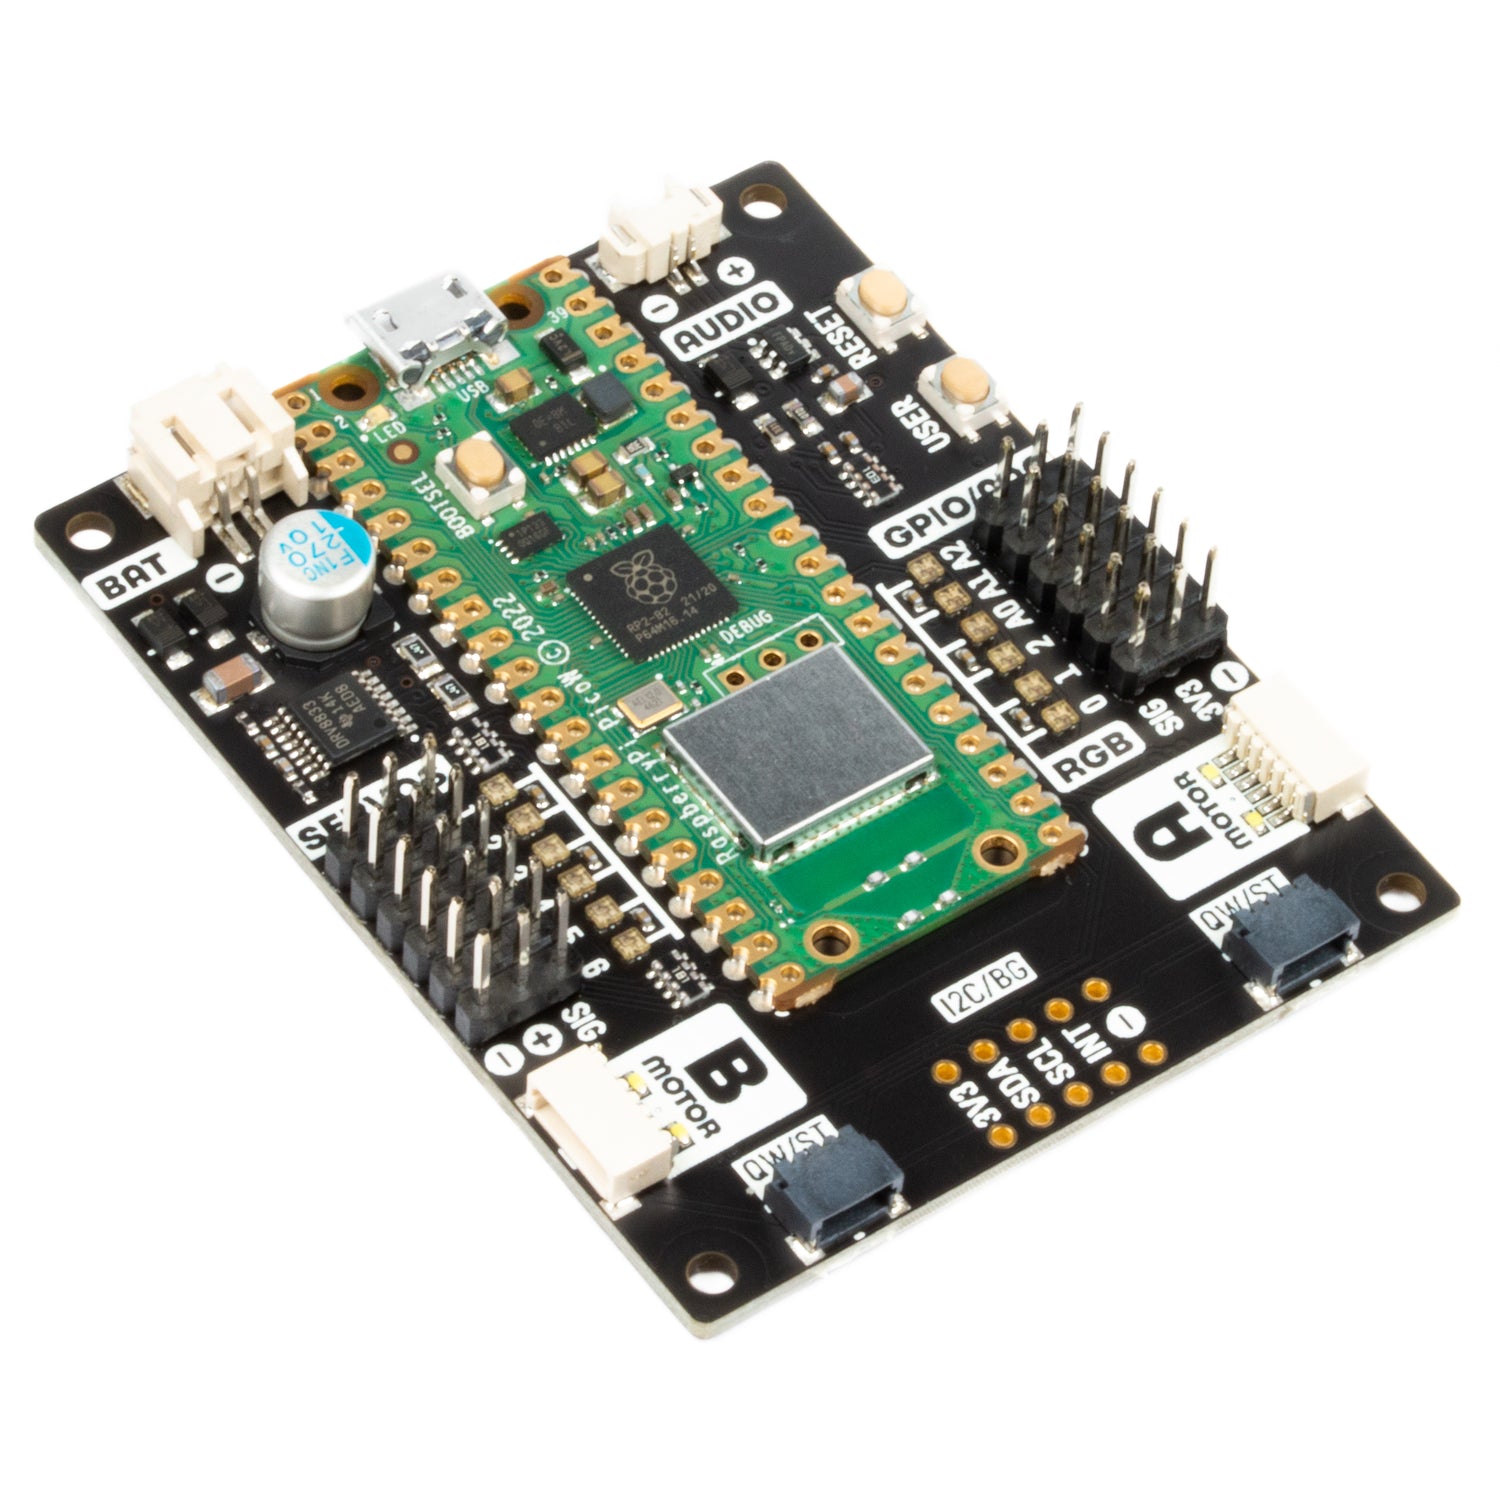
Technical details
Feel free to gloss over these!
- The Inventor 2040W connects to the internet wirelessly, and it can power from a battery or USB. Hopefully the batteries last!
- It’s running some code that listens for messages using an “Internet of Things” network protocol (called MQTT). When it receives a message, it moves a motor.
- It connects to a small server (running software called ‘mosquitto’) on Alex’s laptop.
- Strudel can send these messages instead of triggering sounds - that’s how we use it to pattern movement.
First movement
Let’s get a motor running!
-
Note the letter drawn on a label on the back of the microcontroller.
-
Plug a battery into your microcontroller.
-
Plug a motor into ‘servo’ (not motor) plug numbered 1, with the yellow (lightest) cable closest to the ‘1’, and the brown (darkest) cable outward
-
Run the below to set up some values, changing the
xin ‘robot(‘x’)` to the letter on your microcontroller.
$: move("-60 80").motor("0").robot('x');
If you refresh the page, you’ll need to change the letter to match your robot again.
If your motor starts moving unexpectedly, someone else might have put your letter in by mistake!
Note that in the above, we start counting motors from ‘0’, so motor 1 on the board is motor 0 in the code.
Patterning movement
Many strudel features for playing with sound patterns will work when
playing with motor patterns. Try playing with the mininotation in the
move command:
$: move("-10 0 10 [20 30]*2").motor("0").slow(2).robot('x')
The move instructions are in the range from -90 to 90.
If your motors stop working at some point, and your code looks right, try pressing the ‘reset’ button on the microcontroller.
It’s possible to make smooth movements based on different ‘waveforms’, for example a smooth sinewave:
$: move(sine.range(-30, 30).segment(16)).motor("0").slow(2).robot('x');
The movement is still quite jerky, because the ‘segment’ command is only taking 16 positions from the sinewave. Try increasing it to 32 or 64. It’s best not too much higher than that, as the microcontroller might get overwhelmed with a backlog of instructions!
Try replacing sine with other waveforms: saw (sawtooth wave), tri (triangular wave) are good, and there is also
rand (random wave) and perlin (a kind of smoothed-out randomness).
Patterning more than one motor
You can pattern the motor command separately from the move one:
$: move("-10 0 10 [20 30]*2").motor("0 1").slow(2).robot('x');
Alternatively, you can pattern two motors in separate patterns. The below sends the same pattern for the first two motors, but with the second one running slower:
$: move("-10 0 10 [20 30]*2").motor("0").slow(2).robot('x');

$: move("-10 0 10 [20 30]*2").motor("1").slow(3).robot('x');